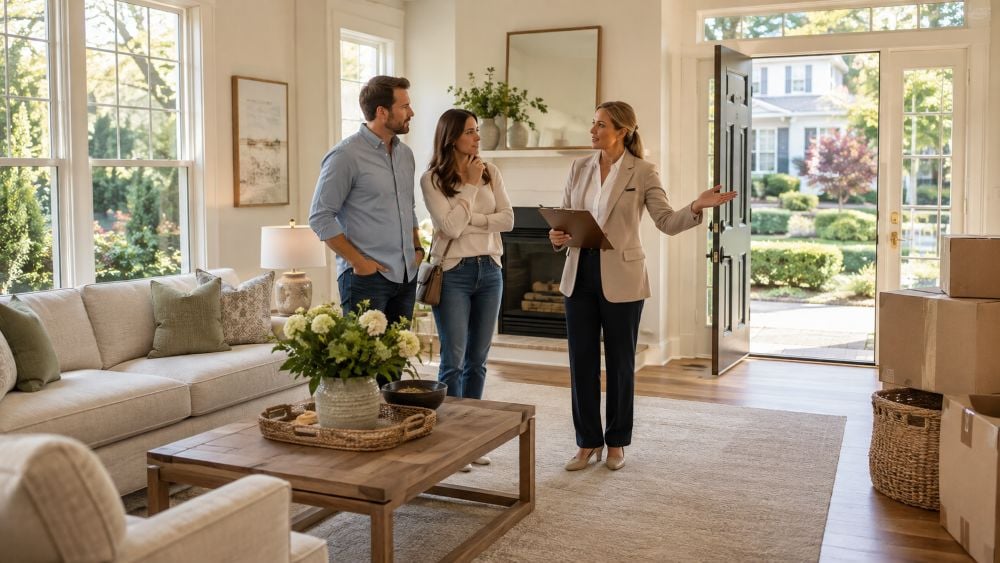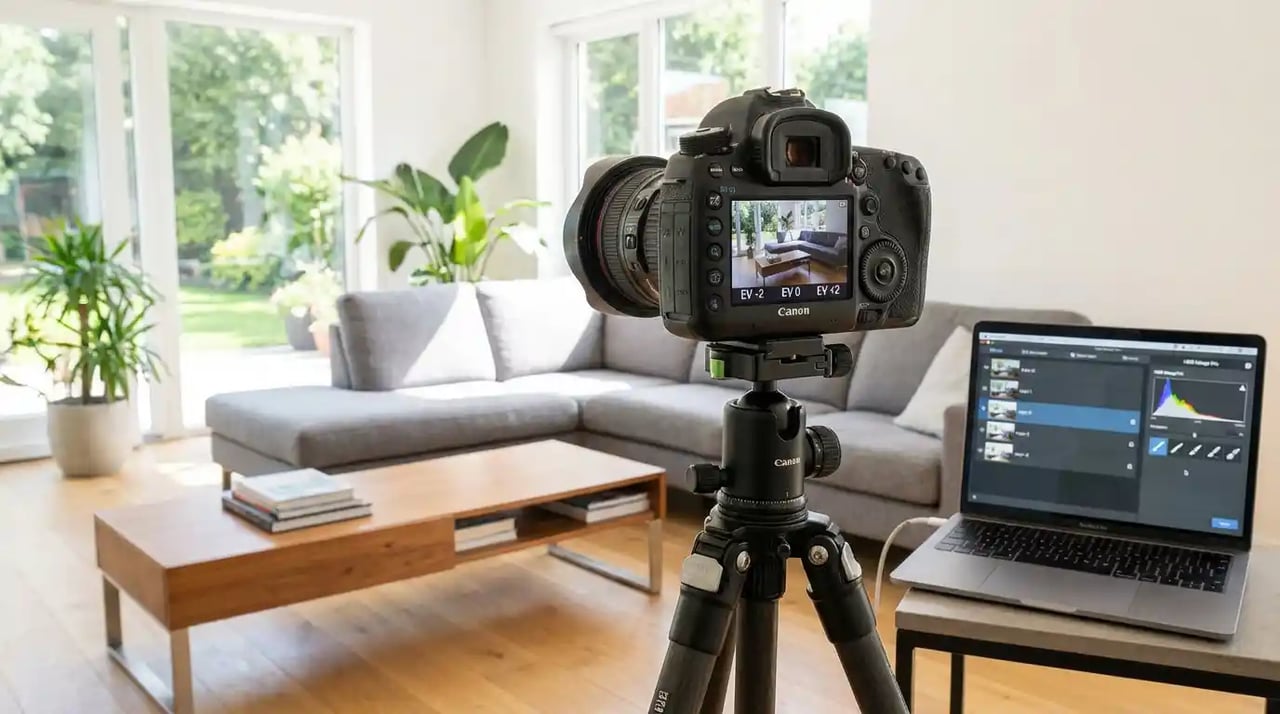
Professional listing photography is often the first real showing your home receives. Before a Buyer walks through the front door, they may already have formed an opinion based on the first photo, the brightness of the rooms, how spacious the home appears, and whether the listing makes it easy to understand the property's strongest features. Preparing for photography is therefore not just about cleaning—it is about removing anything that makes the home's value harder to see.
How to Prepare Your Atlanta Home for Professional Photography
The goal is not to make the home look artificially perfect. It is to make every room clear, bright, spacious, and easy for Buyers to understand online.
Prefer to Watch?
How to Prepare Your Atlanta Home for Professional Photography
Think of Photography as the First Showing
When Buyers search online, they may scroll through dozens of listings in one sitting.
They are making fast decisions:
Click.
Keep scrolling.
Save.
Reject.
Schedule a showing.
Professional photography can help a home communicate its strengths clearly enough to earn that next step.
The Goal Is Not
to Make the House
Look Perfect.
The Goal Is to Make
the Home's Value Easy to See.
Use the Photo-Day Readiness Test
Visual Clarity
+
Space
+
Light
+
Cleanliness
+
Defined Room Function
+
Strong Exterior
+
Feature Visibility
−
Visual Distractions
=
Photo-Day Readiness
Before the Photographer Arrives, Ask:
“If a Buyer Saw Only These Photos, Would They Understand What Makes This Home Worth Seeing?”
1. Declutter for the Camera—not Just for Daily Living
A room can feel perfectly comfortable in person but look crowded in a photograph.
Cameras compress visual information.
That means items on:
- Countertops.
- Coffee tables.
- Nightstands.
- Desks.
- Open shelving.
- Floors.
- Bathroom counters.
can become visual competition.
The goal is not to remove every object.
It is to make sure the first thing the Buyer sees is:
the room—not the stuff inside it.
If an object does not help explain the room, consider removing it for photo day.
2. Don't Over-Declutter Until the Home Loses Its Function
There is another extreme.
A room can become so empty that Buyers cannot immediately understand:
how large it is,
what furniture fits,
or what the room is supposed to be.
For example, a flexible room may photograph better as:
a clearly defined home office
than as an almost empty room containing one chair.
Decluttering
Should Create
Clarity.
Not
Confusion.
3. Clean the Surfaces the Camera Will Expose
Photography can make certain details more visible than they feel in person.
Pay particular attention to:
- Floors.
- Windows.
- Mirrors.
- Glass doors.
- Kitchen counters.
- Stainless-steel appliances.
- Bathroom fixtures.
- Shower glass.
- Baseboards in prominent areas.
Clean windows are especially useful because they can improve both:
light and exterior visibility.
4. Make the Kitchen Read as Workspace
The kitchen is often one of the most-viewed rooms in a listing.
Countertops should communicate:
usable space.
Before photography:
- Remove most small appliances from countertops.
- Put away dish racks.
- Remove paperwork.
- Remove excessive magnets and notes from the refrigerator.
- Clear cleaning supplies.
- Hide trash cans when practical.
- Clean the sink.
- Polish visible appliances.
- Straighten stools and chairs.
A small amount of intentional styling is fine.
But countertops should not look:
full.
In kitchen photos, empty counter space often communicates more value than additional décor.
5. Make Bathrooms Feel Like Part of the Home—not Someone's Morning Routine
Remove:
- Toothbrushes.
- Skincare products.
- Medication.
- Hair products.
- Razors.
- Cleaning bottles.
- Bath mats if they visually clutter the room.
- Extra towels.
Then:
- Close toilet lids.
- Clean mirrors.
- Clean shower glass.
- Use simple, coordinated towels if desired.
- Remove visible laundry.
6. Remove Personal Information—Not Because Buyers Cannot Know You Live There
The objective is not to make the property look abandoned.
The objective is to reduce distractions and protect privacy.
Remove or secure items such as:
- Mail.
- Financial paperwork.
- Calendars containing personal information.
- Prescription medications.
- School information.
- Excessive collections of personal photographs.
- Valuables.
A few personal touches may not ruin photography.
But Buyers should spend their attention studying:
the property.
7. Prepare the Light Before the Photographer Arrives
Walk through the home and check every important fixture.
Replace burned-out bulbs.
When appropriate:
- Open curtains.
- Adjust blinds consistently.
- Remove objects blocking windows.
- Clean windows.
- Make sure lamps and built-in fixtures function.
The photographer will determine the final lighting strategy.
Seller preparation should simply make sure:
the light sources are available and the windows are ready to be used.
Good Photography
Cannot Turn
a Burned-Out Fixture
Into
a Working Light.
8. Make Bedrooms Look Restful and Proportional
Make every bed.
Straighten:
- Pillows.
- Bedspreads.
- Nightstands.
- Lamps.
- Window treatments.
Remove:
laundry,
charging cables,
water bottles,
excess furniture,
and anything stored visibly on the floor.
If a bedroom contains so much furniture that Buyers cannot understand its dimensions:
remove something.
9. Make Living Areas Explain the Floor Plan
Furniture placement matters in photography because it helps Buyers understand:
- Traffic flow.
- Room size.
- Connections between rooms.
- How the space can be used.
Move small objects and excess furniture if they block:
doors,
windows,
fireplaces,
or natural room transitions.
Good staging does not simply make a room prettier. It helps Buyers understand the room faster.
10. Give Flexible Rooms a Clear Purpose
A bonus room filled with:
boxes,
exercise equipment,
a spare desk,
and children's toys
may be useful in everyday life.
In a listing photo, Buyers may have trouble understanding it.
Consider presenting the room primarily as:
- A home office.
- A media room.
- A bedroom where legally and appropriately represented.
- A play / recreation room.
- A fitness room.
- A flex living space.
11. Prepare the Front Exterior Like It Is the First Photo
Because it often is.
Before photography:
- Mow the lawn when seasonally appropriate.
- Edge or tidy visible lawn boundaries.
- Trim obviously overgrown vegetation.
- Sweep the walkway.
- Remove empty planters or broken décor.
- Store trash and recycling bins.
- Remove garden hoses from prominent areas.
- Clean the front door when needed.
- Remove excessive vehicles from the driveway when practical.
The Front Photo
May Have Only
a Few Seconds
to Earn
the Next Click.
12. Treat the Backyard as Living Space
If outdoor living is an advantage of the property, make the space easy to understand.
Remove:
- Children's scattered toys.
- Pet waste.
- Broken furniture.
- Extra gardening supplies.
- Unused equipment.
- Empty pots.
Arrange usable furniture intentionally.
If the strongest feature is:
a covered patio,
pool,
garden,
firepit,
screened porch,
or private view,
make sure Buyers can see it without visual clutter.
13. Decide Strategically What to Do With the Garage
Sellers often move everything they removed from the house into the garage.
Sometimes that is the practical choice.
But if the garage is an important selling feature because it offers:
- Three-car parking.
- Workshop space.
- EV charging.
- Built-in storage.
- Exceptional size.
you may want it photo-ready too.
If the garage will not be photographed, discuss storage strategy with your listing agent before moving half the house into it.
14. Prepare for Pets
Before photography, remove or organize:
- Pet beds.
- Food bowls.
- Litter boxes.
- Crates when practical.
- Toys.
- Leashes.
- Visible pet-related clutter.
And make arrangements so pets do not interfere with the photographer's movement through the property.
15. Fix the Small Problems the Camera Will Magnify
Before photography, walk through looking for:
- Missing light bulbs.
- Crooked cabinet doors.
- Loose handles.
- Visible wall marks.
- Damaged outlet covers.
- Hanging wires.
- Peeling caulk.
- Broken blinds.
- Obvious exterior debris.
Not every house needs renovation before photography.
But small visible defects can create:
distraction disproportionate to the cost of fixing them.
16. Don't Turn Photo Preparation Into an Unplanned Renovation
Once Sellers begin preparing, it is easy to think:
Maybe repaint the entire house.
Maybe replace every light fixture.
Maybe redo the bathroom.
Maybe replace all the flooring.
Those projects may or may not make sense.
Photography preparation should focus first on:
clarity, cleanliness, condition, light, and competitive presentation.
Major improvement decisions should be evaluated separately based on:
cost,
market competition,
Buyer expectations,
and likely return.
Photo prep should remove distractions—not create an uncontrolled renovation budget.
17. Prepare the Home Around Its Strongest Photo Story
Not every property should be presented exactly the same way.
One home may be strongest because of:
the kitchen.
Another:
the backyard.
Another:
the primary suite.
Another:
the basement.
Another:
the architectural exterior.
Before photo day, identify the home's strongest selling features so those areas receive extra attention.
Photography Should Not
Document Every Object.
It Should Help Explain
Why This Home Is Worth Seeing.
18. Good Photography Should Present the Home Well—Not Misrepresent It
The purpose of professional photography is to:
show the home's strengths,
improve visual clarity,
and help Buyers understand the property.
It should not create an expectation that collapses as soon as the Buyer arrives.
If the room is small:
present it clearly.
If the backyard is compact:
show how it functions.
If there is a meaningful property characteristic Buyers will discover during a showing:
marketing should not depend on pretending it does not exist.
The best listing photos create interest without creating a misleading expectation.
The Night-Before Photography Checklist
☐ Declutter countertops and floors.
☐ Remove paperwork and personal information.
☐ Clean kitchen counters and appliances.
☐ Clear bathroom counters and showers.
☐ Close toilet lids.
☐ Make every bed.
☐ Remove visible laundry.
☐ Straighten furniture.
☐ Hide excess cords and chargers.
☐ Remove pet bowls, beds and litter boxes where practical.
☐ Replace burned-out bulbs.
☐ Clean mirrors and important windows.
☐ Clean the front entrance.
☐ Remove trash and recycling bins from prominent exterior areas.
☐ Put away garden hoses and unnecessary outdoor items.
☐ Tidy patios, decks and porches.
☐ Remove unnecessary vehicles when practical.
☐ Make sure the home's strongest features are unobstructed.
☐ Decide where people and pets will be while photography is taking place.
The Last 15-Minute Walk-Through
Right before photography, walk from:
the front door through the entire house exactly like a Buyer would.
Look for:
- One towel left on the floor.
- A phone charger on the counter.
- A trash can still visible.
- An open toilet lid.
- A pet bowl.
- A crooked pillow.
- A jacket on a chair.
- A vehicle blocking the front elevation.
- A light bulb that no longer works.
Small items are easy to miss when you have been preparing for hours.
The 80-Point Photo-Day Readiness Scorecard
Category | Score | Question |
|---|---|---|
Visual Clarity | ___ / 10 | Can Buyers immediately understand each room? |
Decluttering | ___ / 10 | Are possessions competing with the property for attention? |
Cleanliness | ___ / 10 | Are visible surfaces photo-ready? |
Lighting | ___ / 10 | Are windows and fixtures ready to support photography? |
Room Function | ___ / 10 | Does furniture help explain how rooms function? |
Exterior Presentation | ___ / 10 | Is the exterior strong enough for a first-photo impression? |
Feature Visibility | ___ / 10 | Are the home's strongest features obvious? |
Privacy / Distractions | ___ / 10 | Have personal information and unnecessary distractions been removed? |
Total | ___ / 80 | This measures presentation readiness—not a guarantee of Buyer interest or offers. |
Frequently Asked Questions
How clean should my house be before professional real estate photos?
Focus especially on visible surfaces, windows, mirrors, floors, kitchen counters, bathrooms, fixtures and other areas that appear prominently in photographs. The goal is to reduce distractions and present the property clearly.
Should I remove all family photos?
Not necessarily every photograph, but removing excessive personal items can reduce visual distraction and protect privacy. Papers, calendars, financial information, medication and valuables should be secured.
Should kitchen counters be completely empty?
They do not necessarily need to be completely empty, but most everyday appliances, paperwork and clutter should usually be removed. A small amount of intentional styling can work well while preserving visible counter space.
Should I turn on every light before the photographer arrives?
Make sure bulbs and fixtures work and the home is ready for the photographer. The photographer may make the final decision about which lights, blinds and curtains should be used for each shot.
Should I repaint before listing photos?
Not automatically. If paint is heavily damaged, unusually distracting or contributing to poor presentation, repainting may be worth evaluating. Major improvement decisions should be based on cost, current competition, property condition and likely Buyer response—not photography alone.
Should the garage be cleaned for listing photos?
If the garage is an important selling feature or will be photographed, prepare it accordingly. If it will not be photographed, discuss with your listing agent where excess belongings can be stored without affecting showings.
Do professional photos make a home sell for more?
Professional photography can improve presentation and help Buyers understand a listing online, but photography alone does not guarantee a particular sale price, number of showings, number of offers or days on market. Price, property condition, location, competition and market conditions still matter.
How early should I prepare before photo day?
Larger decluttering, landscaping, repairs and staging decisions should be started well before photography when possible. The day before photography should ideally be reserved for cleaning, organizing and final details rather than major projects.
What is the most important photography-preparation question?
Ask: “If a Buyer saw only these photos and never heard my explanation, would they understand the home's space, function, condition and strongest features?”
Want to See the Preparation Tips in Video?
Watch: How to Prepare Your Atlanta Home for Professional Photography
Good Photography
Gets Attention.
Good Preparation
Helps Buyers See
Why the Home Deserves the Attention.
Final Thoughts: Prepare for the Buyer Who Has Never Seen Your Home
As a Seller, you already know:
which room feels largest,
where the natural light is best,
how useful the backyard is,
and which improvements you love most.
The online Buyer does not.
Your photography preparation should help that Buyer understand:
How large the rooms feel.
How the floor plan flows.
How well the property has been presented.
What the strongest features are.
And why this home deserves an in-person showing.
Before the photographer arrives, don't ask only, “Is the house clean?”
Ask: “Is there anything in this room making it harder for the Buyer to see the house?”
Preparing to Sell Your Metro Atlanta Home?
Before professional photography, we can walk through the home and identify what should be removed, cleaned, repaired, repositioned or highlighted so the listing tells a stronger visual story. The goal is not unnecessary renovation. It is to prepare the home strategically so professional photography, video, 3D tours and the online listing can clearly communicate the property's strongest features to Buyers.
Tina Jingru Sui | TJS Team
Call or Text: (404) 375-2120
Email: [email protected]
Visit TinaSui.com
About Tina Jingru Sui
Tina Jingru Sui is the founder and leader of the TJS Team, serving home sellers, buyers, investors, new-construction buyers and relocation clients throughout Metro Atlanta.
Tina and her team serve Atlanta, Johns Creek, Alpharetta, Suwanee, Duluth, Buford, Dacula, Sandy Springs, Roswell, Marietta, Smyrna, Peachtree Corners and surrounding Metro Atlanta communities.
Keller Williams Realty Atlanta Partners · (404) 375-2120
This article is provided for general real estate education and marketing information only. Photography, staging, cleaning, decluttering, repairs, landscaping, video, 3D tours, open houses and other listing-preparation or marketing activities do not guarantee a particular sale price, number of showings, number of offers, appraisal result, days on market or closing. The Photo-Day Readiness Test, scorecard, checklists and examples are educational tools only. Property preparation should be evaluated based on the specific home, market, Seller goals, budget and current competition. Not every home requires repainting, staging, repairs or renovation before listing. Renovation and preparation expenses do not necessarily produce dollar-for-dollar increases in market value. Professional photography should present the property accurately and should not be used to materially misrepresent property size, condition, features, views or other characteristics. Items that are intended to remain or be removed from a property should ultimately be addressed through the applicable listing, contract and transaction documents rather than assumed from photography. Real estate professionals can assist Sellers with property preparation, presentation, pricing, marketing and listing strategy but do not replace inspectors, contractors, engineers, photographers, stagers, attorneys, appraisers or other qualified professionals where their expertise is needed. Equal Housing Opportunity. Tina Jingru Sui, GA License #392936, REALTOR®, affiliated with Keller Williams Realty Atlanta Partners.